Unexpected shutdowns often begin with wear, loose fasteners, contaminated abrasive or restricted airflow that was visible before production stopped. Shot blasting machine maintenance should therefore connect daily inspection, planned wear-part replacement and safe troubleshooting to the actual workpiece, abrasive and operating hours. The same checklist cannot be copied unchanged between a mobile floor unit, roller-conveyor line, tumble-belt machine and hanger system.
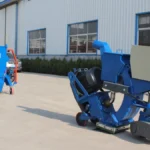
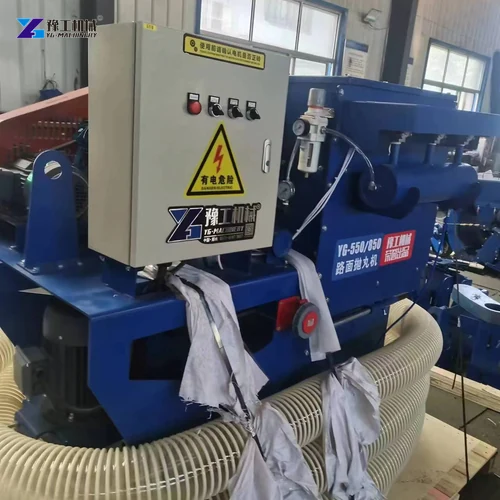
This guide uses a YG-550 floor shot blaster manual as evidence for component checks while keeping its instructions tied to that model family. Factory-line owners should combine those checks with the manual for their installed machine. The goal is to detect changes in vibration, blast pattern, media flow, sealing and dust collection before they damage adjacent components or reduce the accepted surface result.
Use the industrial shot blasting machine page to identify the installed machine family, and confirm abrasive compatibility with the steel shot blasting media selection guide before stocking service parts.
Build a Safe Shot Blasting Machine Maintenance Routine
Begin with isolation. Stop the machine in a safe position, follow the site’s lockout procedure and release stored energy before opening guards or entering a chamber. Confirm that the blast wheel has stopped and that no automatic conveyor, elevator or media valve can restart. Electrical work belongs to qualified personnel, and lifting tools must be rated for the component being handled.
Divide the routine by shift, operating hours and planned shutdown rather than relying on memory. A shift check can cover guards, seals, hoses, abrasive level, visible leaks and unusual noise. An operating-hour task can cover lubrication and wear measurement. A shutdown inspection can open protected areas, clean accumulated media and compare wheel, control cage, liners, elevator and separator parts against replacement limits from the manufacturer.
Send the main project dimensions and material requirement for a model review.
REVIEW MY PROJECT REQUIREMENTS
Inspect Blast Wheels and Wear Parts Before Damage Spreads
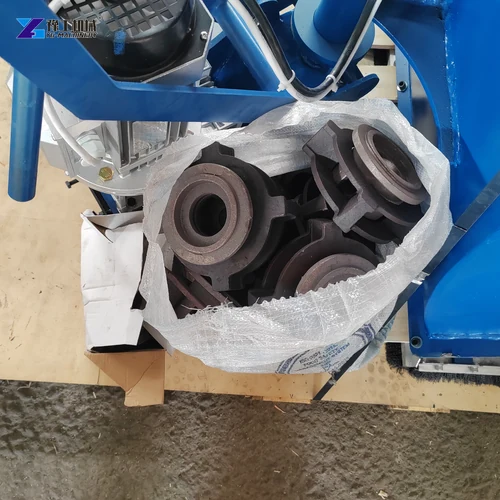
The blast wheel accelerates abrasive and is exposed to continual wear. Inspect blades or wheel parts as a matched set, along with the control cage or directional sleeve, impeller and housing liners. Uneven wear can create vibration and change the blast pattern. Do not weld a damaged high-speed wear component as an improvised repair; replace it with the correct balanced part and follow the specified assembly order.
The YG-550 manual identifies the blast wheel, directional sleeve and several liner positions as wear parts. It also requires adjustment of the directional sleeve after blast-component replacement. That instruction should not be converted into a universal clock position for every machine. Record the installed orientation, verify rotation direction and use a controlled test piece to center the blast pattern after service.
Use Shot Blasting Machine Maintenance to Control Media Flow
Low cleaning force is not always a motor problem. Check whether abrasive can move freely from the storage hopper through the valve and feed path. Screen out debris and broken contaminants according to the machine design. Keep media type and size within the approved range, because mixed or oversized abrasive changes acceleration, separation and wear. Refill only after identifying why the operating level fell.
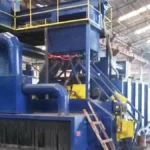
Follow the complete recovery route on an industrial line: floor or chamber collection, screw conveyor where fitted, bucket elevator, separator, storage hopper and feed valve. Look for loose belts or buckets, worn flights, blocked screens, damaged seals and abrasive leakage. A clean storage hopper does not prove that upstream recovery is working; each transfer point needs its own inspection result.
| Inspection area | What to check | Escalation trigger |
| Blast wheel | Wear, balance, fasteners, rotation and pattern | Vibration, noise, uneven wear or pattern drift |
| Liners and seals | Thickness, holes, gaps and abrasive leakage | Housing exposure or escaping abrasive |
| Media circuit | Level, blockage, contamination and transfer points | Unstable flow or rising media loss |
| Elevator and separator | Belt, buckets, screens and separation quality | Slippage, carryover or dirty reusable media |
| Dust collector | Ducts, filters, cleaning cycle and dust hopper | Weak suction, high pressure drop or dust escape |
| Drive and bearings | Fasteners, heat, noise and lubrication | Temperature rise, looseness or abnormal sound |
| Electrical system | Cables, interlocks, sensors and cabinet condition | Damage, overheating or failed safety function |
Check Dust Collection, Seals and Airflow
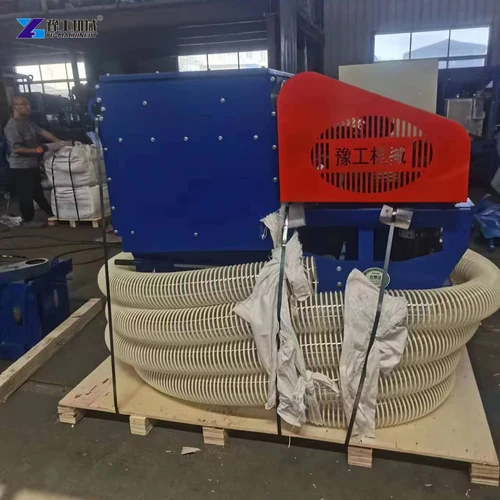
Dust collection protects visibility, abrasive quality and surrounding equipment. Inspect the hose or duct connection, filter condition, pulse-cleaning or backflush function, hopper level and fan direction. A weak system may come from blocked filters, a leaking hose, an open access panel or a restriction in the duct. Do not compensate by changing blast settings before airflow is restored.
Check door seals, floor magnets, curtains and chamber seals for the installed machine type. Escaping abrasive is both a safety signal and a loss of the closed-loop process. The YG floor-machine manual calls for checking the dust box before startup and verifying the dust-collector connection. An enclosed factory line also needs differential-pressure and waste-disposal practices defined by its collector supplier and site rules.
Record Lubrication, Fasteners and Electrical Findings
Inspect fasteners around blast assemblies, guards, motors and conveyor supports. A loose connection can progress from noise to misalignment and secondary damage. Use the specified torque where the manufacturer provides one. Check bearings for heat, noise and lubrication condition without mixing incompatible greases. The YG-550 manual specifically calls for checking blast-drive bearing lubrication after each 100 operating hours; other models require their own interval.
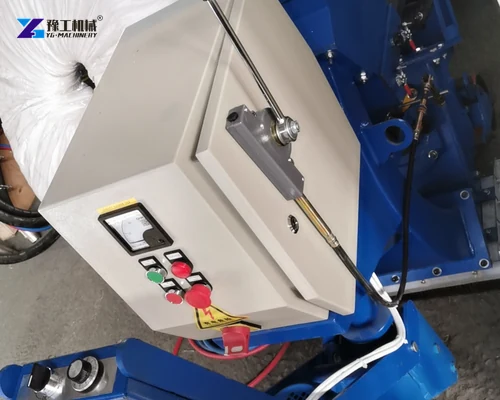
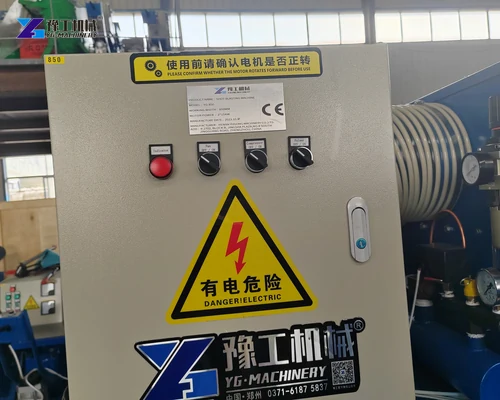
Inspect cables, plugs, sensors, interlocks and cabinet connections for looseness, abrasion or overheating. Keep electrical enclosures closed against conductive dust. Record the measured condition and corrective action rather than marking every task complete. Trend notes about vibration, current, filter pressure or abrasive consumption can show deterioration earlier than a single pass-or-fail inspection.
Share the intended equipment scope so YG can check the configuration and included accessories.
Prepare a Shot Blasting Machine Maintenance Parts Plan
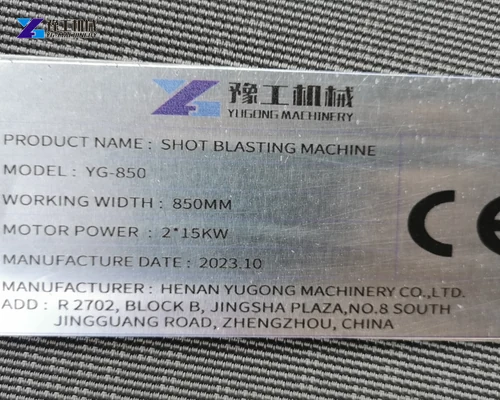
Create a model-specific shot blasting machine maintenance list for wheel components, directional sleeves or control cages, liners, seals, elevator parts, filters, hoses, sensors and approved lubricants. Use the machine nameplate, serial information and installed-part photographs when requesting replacements. Similar-looking parts from another model may have different balance, material, mounting or clearances.
Share the machine type, model, working width or chamber size, workpiece, abrasive, operating hours, symptom and clear photographs with YG. Ask the quotation to separate immediate repair parts from planned stock and to identify any parts that must be replaced as a set. This turns shot blasting machine maintenance into a controlled production plan instead of an emergency parts search after failure.
Provide the final site and delivery details when you are ready for a complete quotation.
Shot Blasting Machine Maintenance FAQ for Factory Lines
Use shift, operating-hour and shutdown tasks from the model manual; do not copy one interval to every machine.
Blast-wheel components, control cages or sleeves, liners, seals, elevator parts and filters are common inspection items, but the list is model-specific.
The wheel assembly or directional control may need correct installation and a controlled pattern adjustment.
Provide the nameplate, serial or model, installed-part photographs, dimensions where requested and the operating symptom.